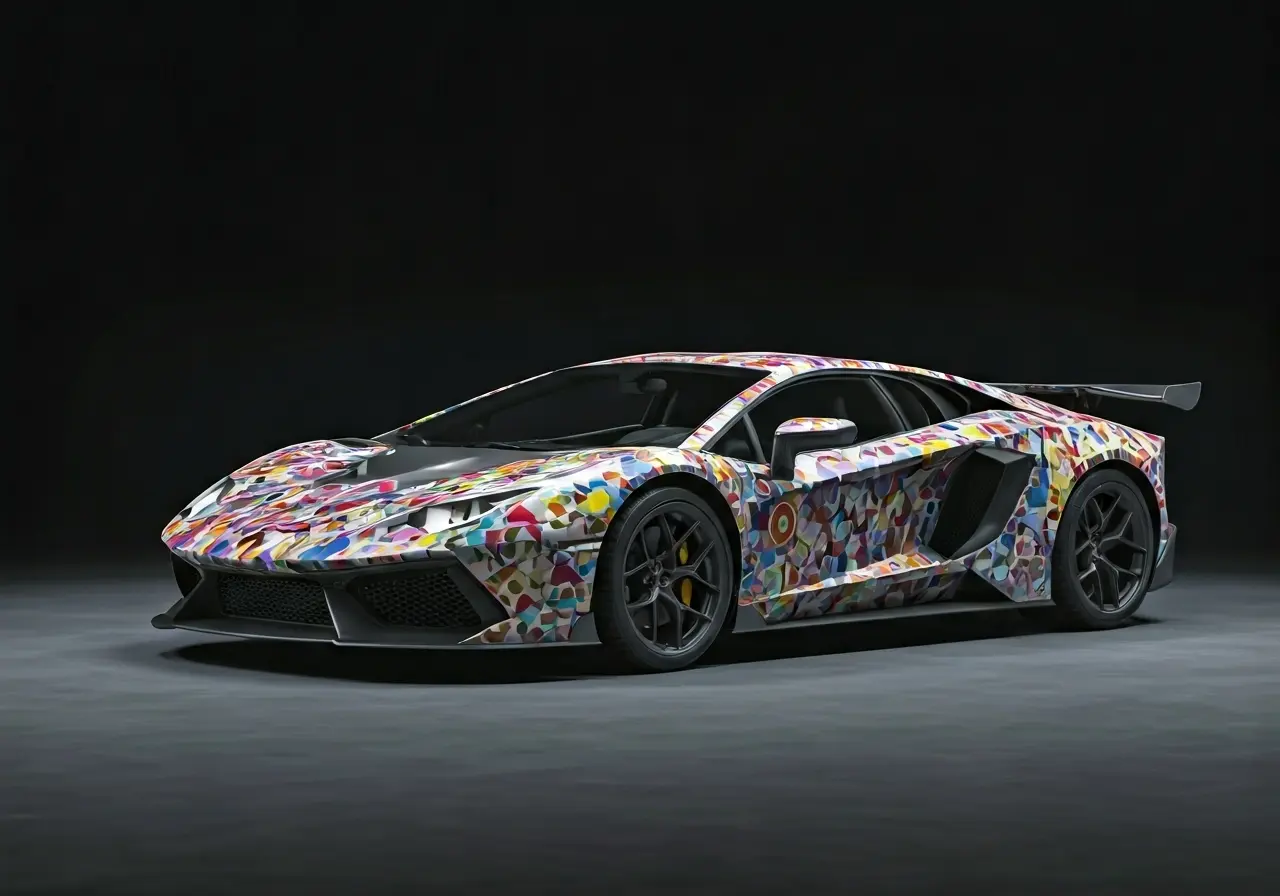
If you’ve ever thought about adding some flair to your vehicle, car graphics are a fun and customizable way to make your ride stand out. But diving into the world of car decals and vinyl wraps can seem daunting. Whether you’re a seasoned pro or a curious beginner, the following tips will ensure your car graphics are nothing short of stunning.
1. Choosing the Right Materials
The first and most crucial step in applying car graphics is selecting the right materials. High-quality vinyl and adhesives ensure that the graphics last longer and withstand various weather conditions. When considering vinyl, it’s important to think about durability and flexibility. Premium vinyl wraps are designed to handle the curves and contours of most car models gracefully, providing both vibrant color and graphic protection. Consider brands known for their reliability and visual appeal. Taking the time to choose correctly will save headaches later.
Don’t forget about the adhesive. A strong adhesive ensures your graphics remain in place, no matter how fast you’re driving or what the weather throws your way. Invest in adhesive technology that’s specifically engineered for vehicles. It’s not just about sticking the graphic; it’s about ensuring that when it’s time to remove or change the look, there’s no residual damage. This careful selection can significantly ease future updates or removals, leaving the car’s paint pristine.
2. Preparing Your Vehicle Surface
A clean surface is essential for the perfect application. Thoroughly wash and dry your vehicle, removing any dirt, wax, or grease for a smooth base. Begin by washing your car with soap and water, focusing on areas that will bear the graphics. A final wipe with isopropyl alcohol can remove any lingering residues. This process ensures that nothing hampers the adhesive’s grip, providing a canvas ready for application. Remember, the cleaner the surface, the stronger the bond.
3. Measuring Twice, Applying Once
Accuracy is key. Carefully measure your space and graphics before starting the application. This will prevent misalignment and waste. Use masking tape to position the graphics temporarily. Stand back and evaluate them from different angles. Doing so enables you to adjust for symmetry and visual impact, ensuring that once the adhesive is engaged, everything falls perfectly as planned. Precision in this step saves time and materials, allowing for a quicker, more professional appearance.
4. Using the Right Tools
Equip yourself with the right tools like squeegees, heat guns, and utility knives to make the process seamless. These tools are integral for managing fine details and achieving a high-quality finish. A squeegee helps smooth out the vinyl without tearing, a heat gun aids in the adhesion process especially over curves, and utility knives provide clean cuts for a polished edge. Mastering the use of these tools is essential for professional-grade results, giving each application a crisp and seamless integration with your car’s design curves.
5. Understanding Temperature and Weather Conditions
Apply graphics in optimal weather conditions, typically in mild temperatures. Extreme heat or cold can affect adhesive properties. Vinyl becomes more pliable in warmth and more brittle in the cold. Work in a climate-controlled space whenever possible to regulate these factors. This awareness will prevent display complications like peeling or premature wear, ensuring lasting quality and satisfaction.
Additionally, consider the forecast before starting your project. Will there be rain, snow, or intense sun? These elements can disrupt the process, so aim for a clear, temperate day instead. If outdoors, an overcast sky offers perfect lighting without the glare, allowing you to focus fully on application precision without the interruption of uncontrollable elements.
6. Applying the Graphics with Care
Apply the graphics steadily and carefully, using a squeegee to smooth out bubbles and ensure that the vinyl adheres securely. Begin from one side, gradually working across the surface while using firm, even pressure. This method avoids trapping air, reducing the likelihood of bubbles. Regularly step back to reassess your progress. Patience during this task leads to a more cohesive and stunning end product.
7. Removing Air Bubbles
Air bubbles can create unsightly bumps. Use a pin to carefully puncture bubbles, pressing down gently to release trapped air. For larger bubbles, apply gentle heat while smoothing to encourage escape, ensuring a leveled surface. These techniques restore the graphics’ professional finish, preserving their aesthetic appeal and longevity. Remember to be gentle to avoid leaving permanent marks during this process.
8. Dealing with Curves and Contours
Navigating curves and contours requires patience. Gently heat the vinyl and stretch it to conform to the shape of the vehicle. Focus on applying the most pressure at the center of the curve, gradually working towards the edges. This attention to detail ensures no folds or misalignments occur. Precision is paramount, as even small errors can detract from the overall design. Continuous adjustment and assessment make sure every segment of the graphic fits seamlessly with the vehicle’s natural form.
9. Giving the Edges Extra Attention
Secure the edges of the graphics by pressing down firmly. This prevents peeling and provides a crisp, clean finish. Heat the edge lightly before pressing down to activate the adhesive further. This step ensures your graphics retain their pristine look even during high-speed or harsh weather conditions. Revisit this step periodically after completion to ensure enduring adhesion over time, adding to the lasting impression of your handiwork.
10. Post-Application Care
Allow the graphics to set for at least 24 hours before taking your car for a wash. This helps in ensuring the adhesive bonds properly. Initial curing time is critical for longevity and reliability of the installation. As it settles, the adhesive forms a stronger bond with your vehicle’s surface.
Consider avoiding power washers or abrasive cloths during the first week, as these can disrupt the bonding process. Opt instead for hand washes using gentle, non-abrasive materials. A little extra care during this initial period can significantly extend the life and appearance of your new car graphics, ensuring they look as sharp as the day they were applied.
11. Maintaining Your Car Graphics
Regular cleaning with gentle solutions will prolong the life of your graphics and keep them looking fresh and vibrant. Avoid harsh chemicals and stiff brushes which can wear down designs prematurely. A mild soap and soft cloth or sponge will gently clean without damaging the graphics, maintaining their vibrant appeal.
12. Knowing When to Seek Professional Help
Sometimes, the job is best left to the experts. If you’re unsure or facing difficulty, don’t hesitate to consult a professional installer. Professional installers offer both skill and experience, often handling unique challenges with ease and ensuring the highest standard of quality. They can also provide valuable insights into the latest trends and materials, keeping your vehicle at the forefront of style and technology.